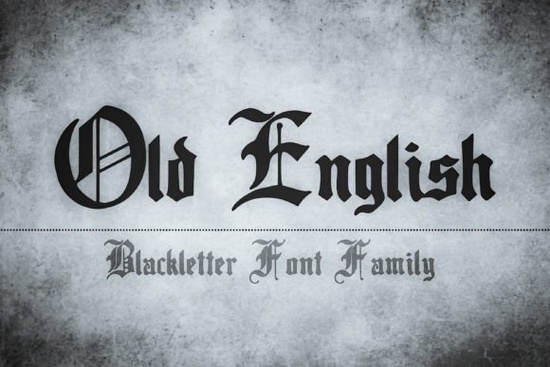
If you are working on a project that needs an authentic historical feel, choosing a reliable blackletter typeface makes all the difference. The Old English Font delivers that classic medieval aesthetic without the heavy licensing headaches or low-quality curves you sometimes find on free archive sites. It is built with clean, sharp strokes and balanced spacing, which means your text stays legible even when you shrink it down for hang tags or stretch it across a large market banner. Designers, print-on-demand sellers, and hobbyists who work with vintage branding, tavern signage, or fantasy book covers often reach for this style because it instantly communicates age, tradition, and craftsmanship.
What projects actually benefit from a medieval typeface?
Blackletter lettering does not work for every layout, but it shines when your theme leans into history, folklore, or traditional craftsmanship. You will see strong results on pub signs, craft beer labels, and artisan packaging where customers expect an old-world aesthetic. Print-on-demand sellers frequently use this style on medieval fantasy apparel, wedding invitations, and vintage coffee mugs. Because the letterforms carry so much visual weight, they pair best with clean, simple backgrounds. If you are designing a historical logo for a small business, keep the accompanying icon minimal. The typography will handle the storytelling, while negative space keeps the overall mark readable at small thumbnail sizes on marketplace search pages.
How do I keep decorative text readable on commercial products?
The biggest mistake designers make with gothic type is using it for long body paragraphs. The intricate crossbars and sharp terminals can quickly tire the eye. Stick to headlines, short quotes, or product titles. When you need to display longer information, switch to a plain sans-serif or serif for the body text. Always test your design at 50% and 100% scale before sending files to a commercial printer. What looks crisp on your monitor often loses detail when ink hits fabric or thick cardstock. Adjust tracking slightly if letters feel too tight, and avoid placing the text over busy patterns or heavy textures. If you want to see how other makers style historic typography, you can explore our curated gallery of similar vintage layouts to understand what spacing works in real shop listings.
Which font pairings create a balanced historical look?
Mixing styles requires a light touch. Since the primary lettering is highly ornate, your secondary font should stay quiet. A straightforward sans-serif works well for modern contrast, while a traditional serif maintains the antique mood without competing for attention. When building a brand identity, limit yourself to two typefaces maximum. Use the heavy strokes for your main headings and reserve the lighter companion for specifications, pricing, or website navigation. This restraint keeps your storefront looking professional instead of cluttered. If you are searching for Old English font alternatives or complementary styles, filtering by display or serif categories will save time during the selection process. Remember that consistent typography builds customer trust across product photos, thank-you cards, and social media updates.
How should I prepare files for printing and cutting machines?
Small crafters and POD operators need reliable file preparation steps to avoid wasted materials. Always convert your text to outlines before sharing designs with printers or importing files into Cricut and Silhouette software. Outlining locks the letterforms so they cannot shift or substitute when another computer opens the project. For screen printing, simplify overlapping elements. Blackletter details can clog fine meshes if the strokes are too thin or placed too close together. Keep a minimum gap of at least 1.5 millimeters between adjacent letters and avoid ultra-thin outlines. Use a solid fill instead of heavy drop shadows, which tend to print as muddy blocks. When designing for vinyl stickers or heat transfer, test a small batch first. Adjusting the cutting depth and blade speed based on your material thickness prevents torn edges and keeps sharp terminals intact.
Quick checklist before launching your historical design
- Convert all text to outlines and save a backup editable version.
- Check spacing and readability at 50% zoom and on a printed proof.
- Pair decorative lettering with a plain, highly readable companion font.
- Verify commercial license terms match your intended product category.
- Run a test cut or small print run to confirm fine details survive production.
 Spiderweb Army Font: Design Tips & Creative Projects
 Creative Projects with Handwritten Font Bundles
 The Bright Darling Duo Font for Creative Projects
 Hey Baby Font: Creative Uses for Your Designs
 Godplan Font: Creativity in Typography Design
 Varsity Fonts for Sports Design Projects