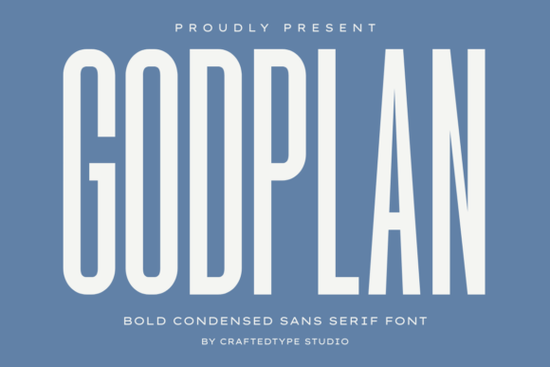
When you need a typeface that fits a lot of text into a tight layout while keeping a strong visual presence, a condensed sans serif is usually your best option. That is exactly why designers keep choosing Godplan Font for projects where space is limited but impact cannot be sacrificed. This typeface combines a tall, compact structure with thick strokes, giving your layouts a modern and architectural feel. Whether you are mocking up a streetwear graphic or printing gym apparel, the narrow profile lets you place longer words and phrases without shrinking the size to unreadable levels. You can view the complete character set and licensing details on the official product page.
Where does this condensed typeface work best?
If you sell custom apparel or wall art, you know that print areas have strict boundaries. A narrow typeface allows you to keep the typography bold while staying within those safe zones. This is especially useful for chest prints on t-shirts, where horizontal space runs out quickly. The clean lines also translate well to direct-to-garment printing and vinyl cutting because there is very little excess detail to lose. You can pair it with simple geometric shapes or minimal logos to let the text carry the visual weight. For social media posts that need to stop scrollers mid-feed, stacking the letters in a tight block layout often draws immediate attention.
How do the technical specs affect everyday design work?
Working with commercial typefaces should feel straightforward, and the included OTF and TTF files cover nearly every design software you might use. The files come with full PUA encoding, which means accessing special characters, alternate glyphs, or numbers does not require jumping through complex software menus. You simply click and type. This setup saves time when you are preparing mockups or batch-designing seasonal collections. Because the typeface relies on a solid, geometric foundation, it renders cleanly at both large poster sizes and smaller tag labels. The consistent stroke thickness prevents those annoying thin lines from breaking apart on low-resolution screens or textured fabrics.
What design elements pair well with bold condensed text?
Since this typeface carries so much visual weight on its own, you will want to balance it with lighter, complementary styles. Many creators mix it with a rounded humanist font to soften the overall layout, or they pair it with a thin script to highlight specific keywords. If you are building a cohesive shop identity, exploring similar condensed options like this modern alternative can help you test different layouts before committing. You might also look into another streamlined choice when you need something slightly more geometric for outdoor or travel-themed merchandise. Keeping your secondary fonts simple prevents the design from looking cluttered.
How can I use this for social media and digital graphics?
Digital platforms favor quick readability, which makes narrow, heavy typefaces a natural fit for thumbnails and story templates. The compact width leaves room for background imagery or product photos to show through. When designing promotional banners, try placing the main offer text in all caps and increasing the letter spacing just slightly. This technique maintains the bold structure while improving legibility on mobile screens. Many content creators also use a lighter handwritten pair to add contrast when they need to display pricing or dates. For a more natural, organic feel, combining the primary typeface with a softer display option works well for lifestyle brands that want to appear approachable yet professional.
What should I know before buying a commercial license?
Before adding any new typeface to your asset library, always check the licensing terms for print-on-demand platforms and digital resale. Most creators purchase these files to cover merchandise, client work, and unlimited project use. You can verify current availability and read the full terms by searching for Godplan Font. Once you have the files, install them correctly and restart your design software to avoid rendering glitches. Keep your base files backed up in a dedicated folder so you do not have to re-download them during urgent client requests.
How do I prepare files for smooth printing?
Preparing typography for physical products requires a few extra steps to ensure the final output matches your screen preview. Always convert your text to outlines before exporting to PNG or EPS. This locks the letter shapes in place so the printer does not need to embed the font file. Check your color mode and switch to CMYK if you are sending files to offset presses. Finally, add a small bleed margin around your canvas so the edges do not get trimmed off during production.
- Save a vector master file to allow infinite scaling without quality loss.
- Test print a single sample on your actual substrate material before running bulk orders.
- Keep a separate copy with live text enabled for quick wording edits.
- Use spot color separation if your design relies on exact brand matching.
- Organize your project folders with clear version dates to track layout changes.
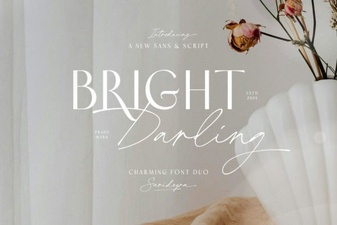 The Bright Darling Duo Font for Creative Projects
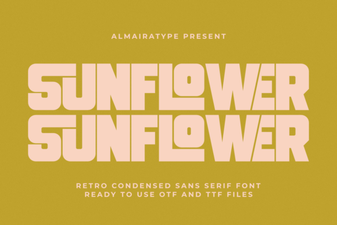 Sunflower Font: Creative Project Ideas & Tips
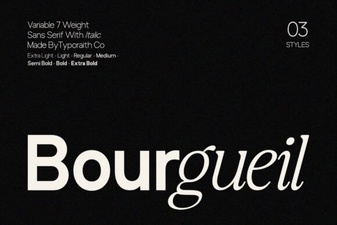 Bourgueil Font: Creative Typography for Modern Designs
 Explore Creative Adventures with Unique Font Design
 Spiderweb Army Font: Design Tips & Creative Projects
 Creative Projects with Handwritten Font Bundles